How to configure Porkbun with Github Pages
If you follow my last posts and now you now How to Host a Blog on Github Pages, also you have probably already written your first blog posts because you know How to Write Blog Posts on Your Github Pages Blog and you also personalized your Blog to look more like you following my How to Customize Chirpy Jekyll Template guide. First of all congratulations for reaching this point, so what about making your Blog more serious or more professional with a domain name that is not called github.io, I have nothing against keeping it that way btw 🙃.
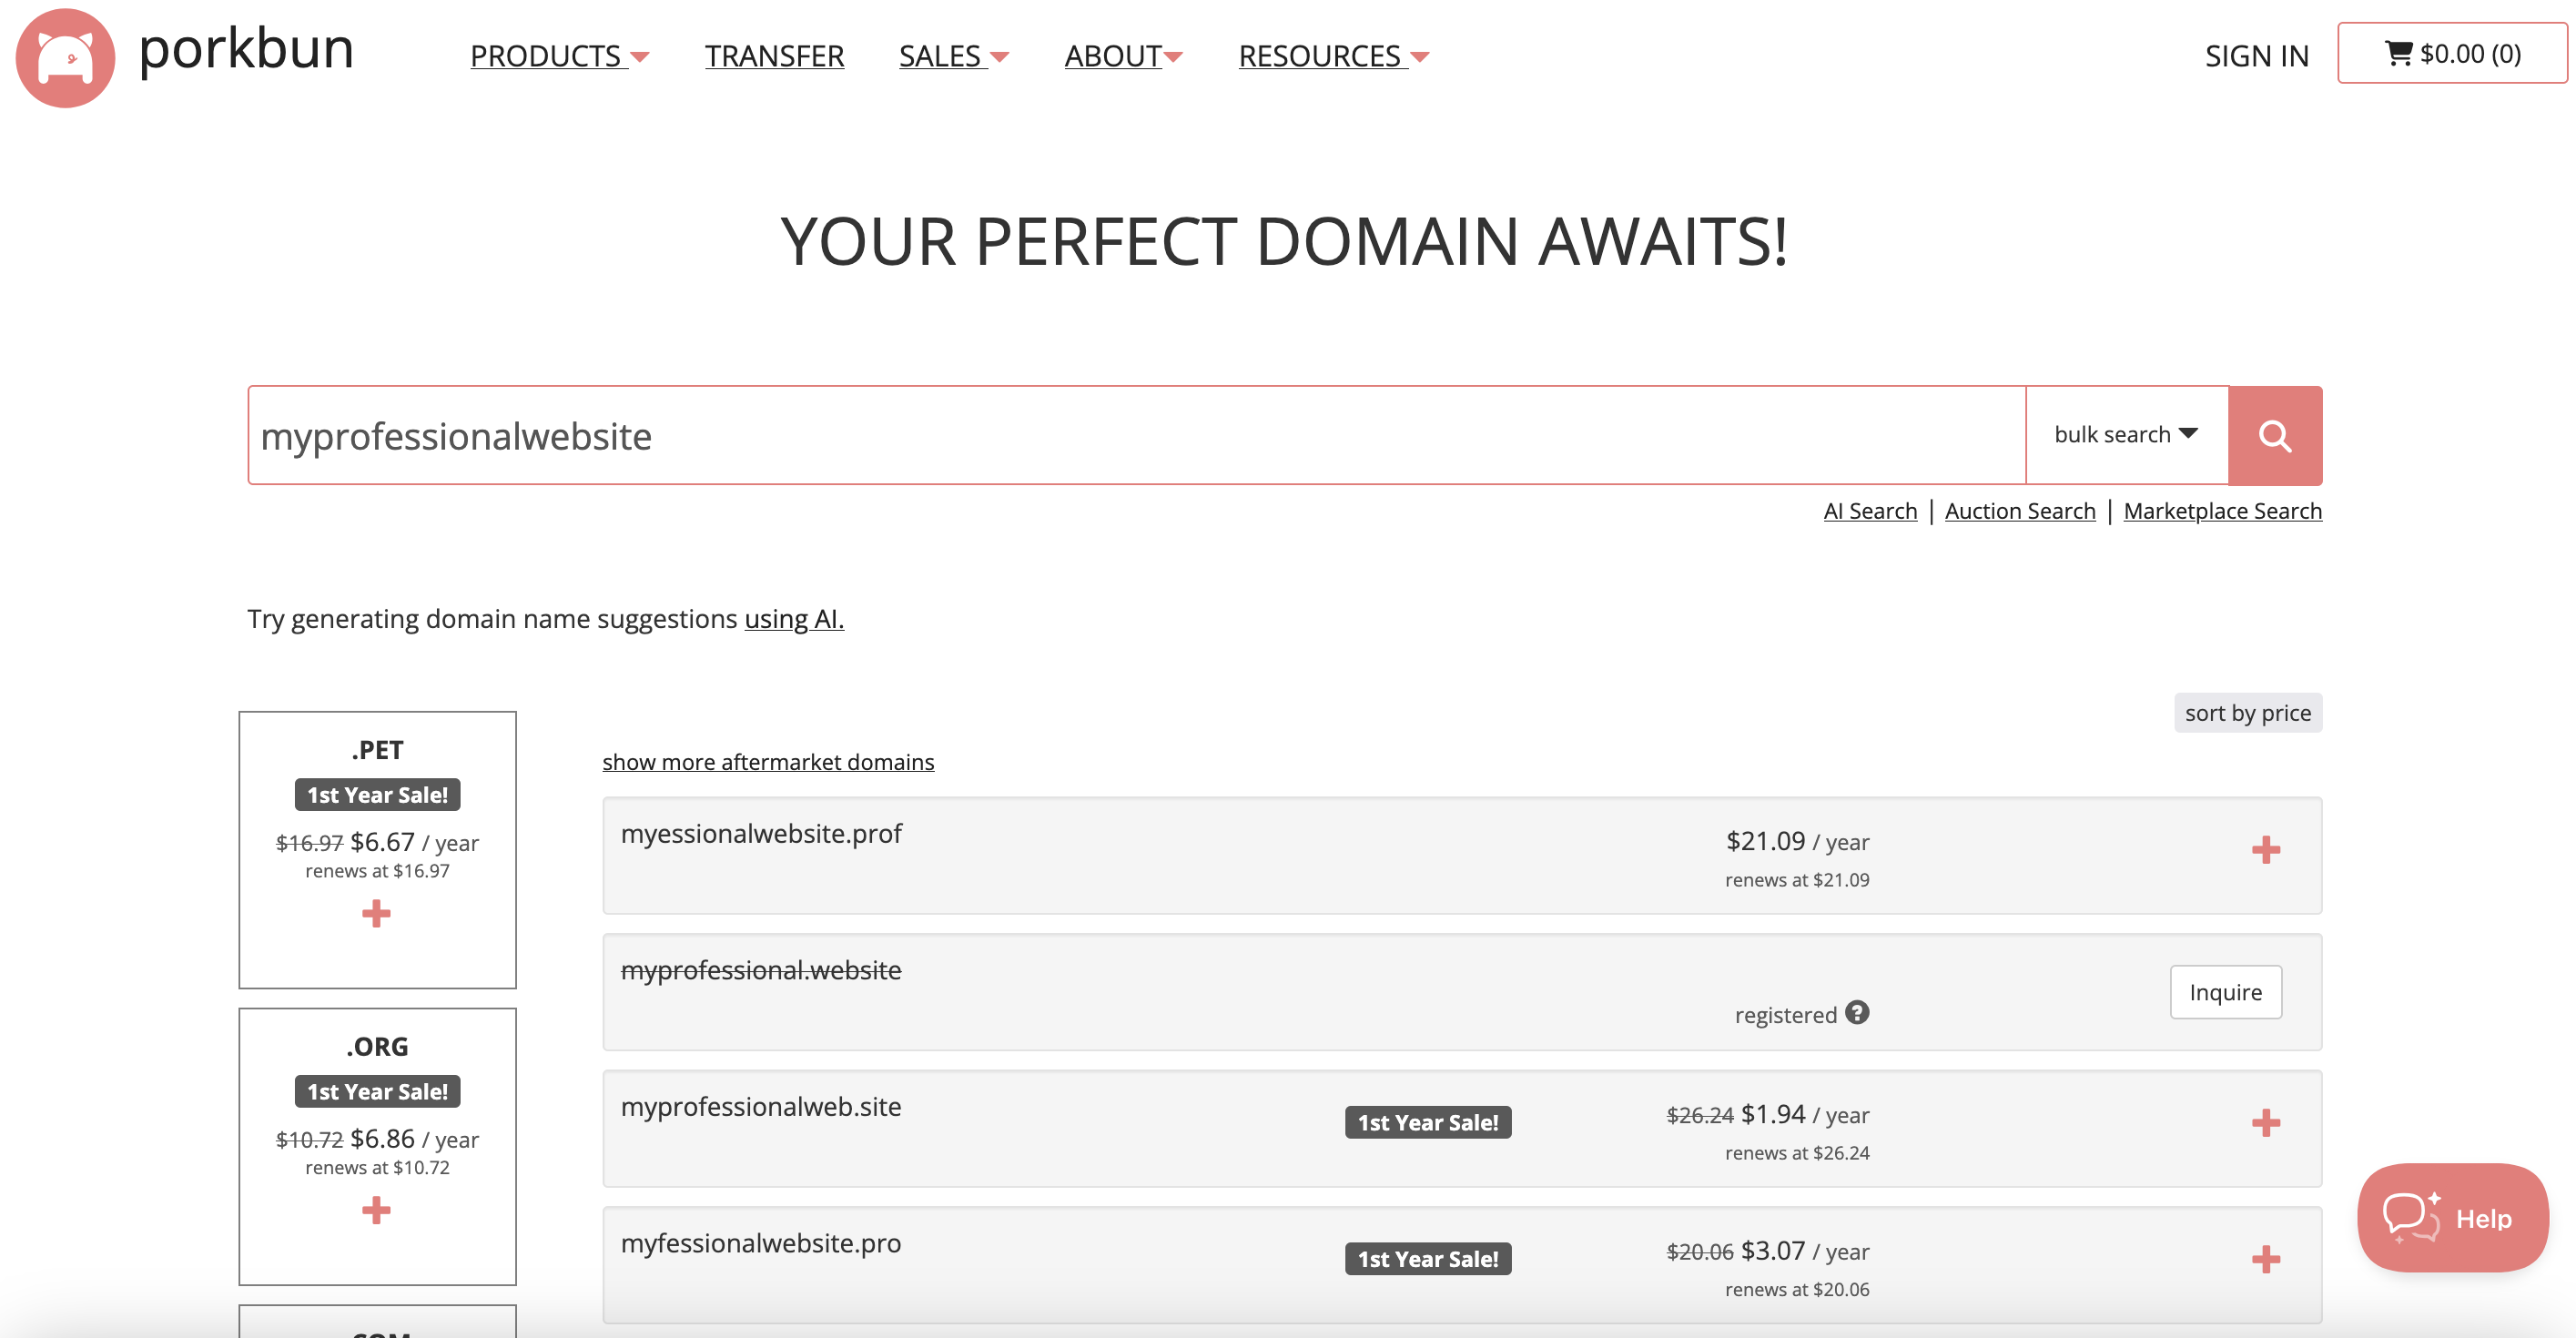
Choose your Host name
There are a lot of websites that sell you hostnames, I personally already bought domains with Namecheap and with Porkbun(that will be using today). First of all why do we need to buy domain names ? because the way the internet is structured with Internet Corporation of Assigned Names and Numbers(ICANN) overseing domain registries like Namecheap, Porkbun, Godaddy assuring that they do not allow the same domain is sold twice. So on this post we will e seeing what you need to configure to use Porkbun but the principles apply to many others Domain Register companies.
First things first you need to choose your hostname and see whether is available in Porkbun, through their search page. As soon as you choose one of the hostnames you will be redirected to their login page where you have to register your account in order to pay and register this domain connecting it to an email account of yours.
Configure Porkbun Domain Name Server(DNS) Settings
To explain ruffly what does it mean a user typing yourdomain.com in the brownser, the sequence of events of happens can be simplified like this, first the browser will ask domain servers if they know any address with this domain name, it is something related to what we did with yellow pages or phone books back in the day. So imagine that Google Domain Name Server(famous 8.8.8.8) answers this address search request with couple Github IP Addresses like these ones below:
| Type | Host | Answer | TTL | Priority |
|---|---|---|---|---|
| A | yourdomain.com | 185.199.108.153 | 600 | |
| A | yourdomain.com | 185.199.109.153 | 600 | |
| A | yourdomain.com | 185.199.110.153 | 600 | |
| A | yourdomain.com | 185.199.111.153 | 600 |
Your domain search request then goes to Github Domain Name Servers and asks do you know about this domain name and Github will check on its records(again another yellow pages search) and it will recognize the connection between yourdomain.com -> yourdomain.github.io.
Needed Local Changes to Point to your new Custom Domain
The previous example was if the user had typed yourdomain.com if they had typed www.yourdomain.com then you would hit another yellow pages search to Canonical Name Records, but basically the example works similarly the only difference is that now you need to inform Github that whenever someone tries to find your CNAME address this is the value they will be searching for. You need to add this CNAME address to your Porkbun account and using Chirpy Template(and most of Jekyll templates) you just have to have a file called CNAME where there you just write yourdomain.com.
| Type | Host | Answer | TTL | Priority |
|---|---|---|---|---|
| CNAME | www.yourdomain.com | 185.199.108.153 | 600 |
Conclusion
On this post you learned how to configure your Github pages blog to be using a Custom Domain making it more serious and more professional for others to see your work and your writings.